
Every Keyboard Shortcut in QuickMark for Mac
Every keyboard shortcut in QuickMark for Mac is listed below, read straight out of the app's menu definitions. If you would rather have the list inside the app, press ⌘/ at any time: Help ▸ Keyboard Shortcuts opens a panel with 44 entries in 9 groups, and Esc closes it.
The number keys mean three different things
This is the part worth learning first, because it looks like a collision and is not one. QuickMark uses the number row three times, with three different modifiers:
- ⌃1 ⌃2 ⌃3 switch the view mode: editor only, editor and preview, preview only.
- ⌘1 … ⌘8 jump to tab 1 through 8. ⌘9 jumps to the last tab, whatever its number, the way Safari and Chrome do it. Open 14 tabs and ⌘9 lands on tab 14.
- ⌥⌘1 … ⌥⌘6 turn the selected lines into heading levels 1 through 6.
So Control is layout, Command is tabs, Option plus Command is Markdown. Once that clicks, the rest of the map is easy.
Writing Markdown without typing the punctuation
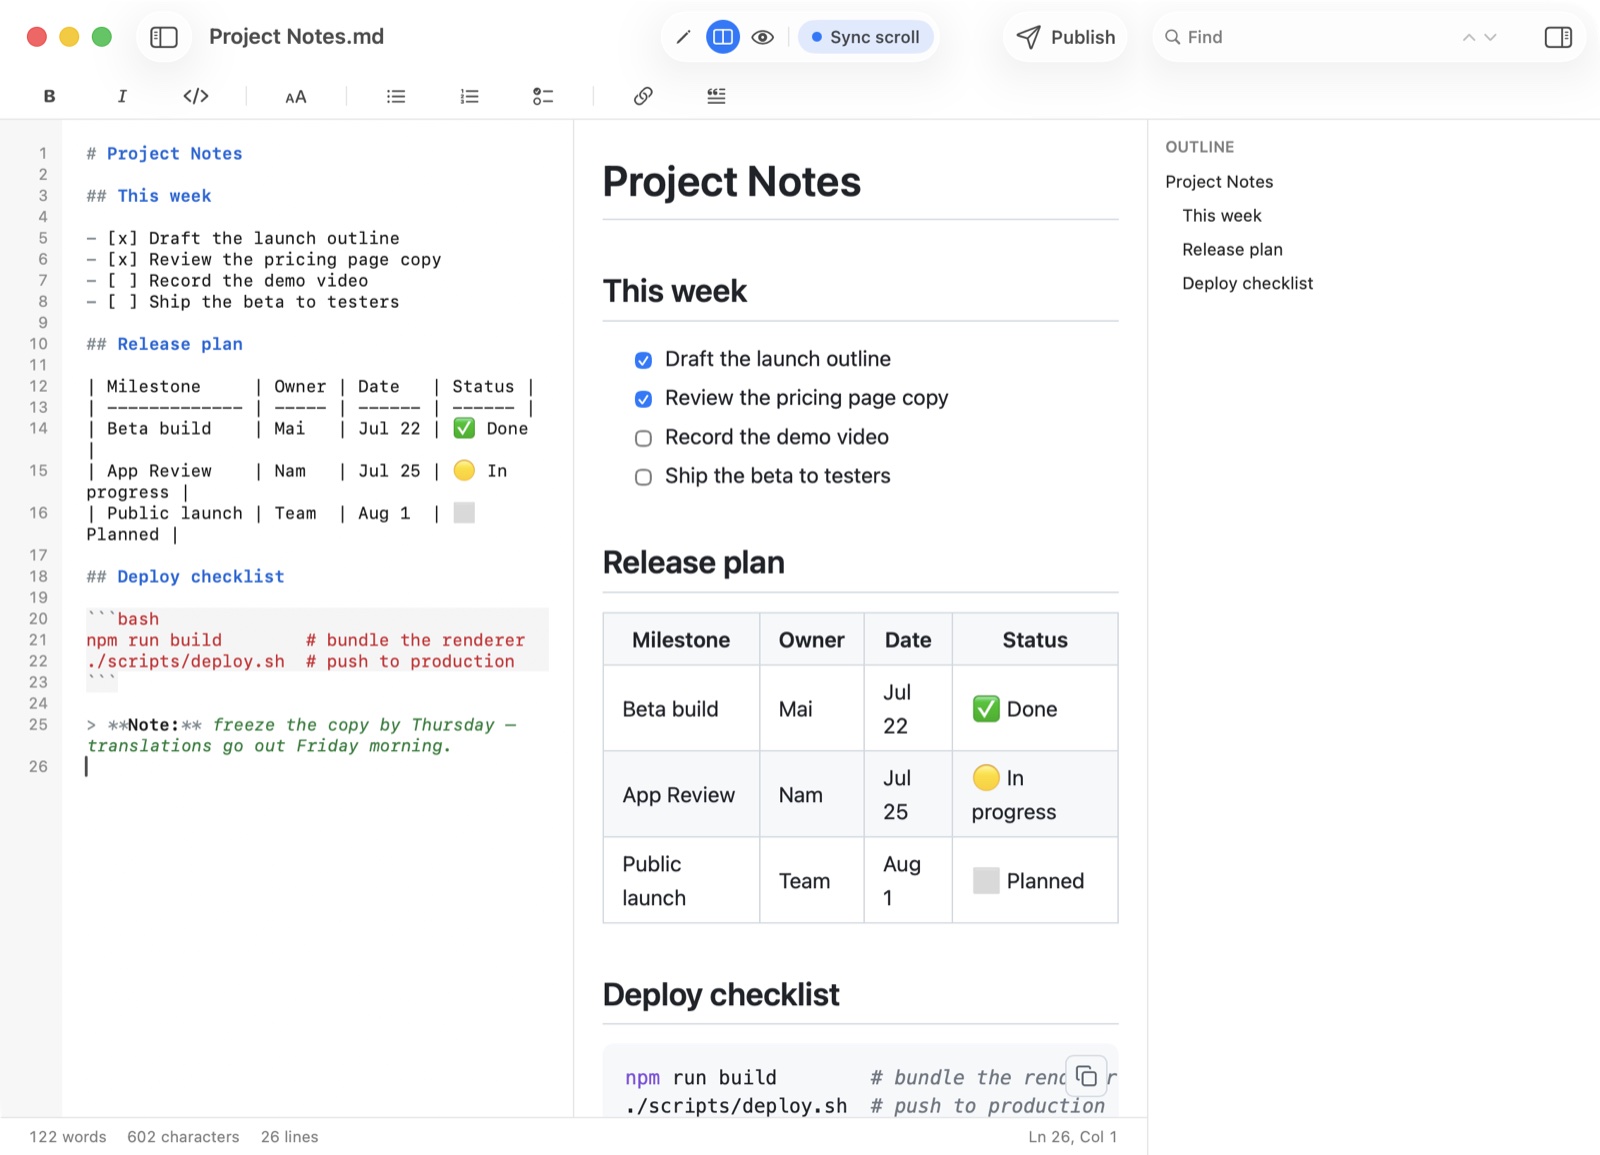
The Format menu writes the syntax for you. Here is exactly what each one produces, taken from the unit tests that pin the behaviour:
| Keys | Command | You select hello, you get |
|---|---|---|
| ⌘B | Bold | **hello** |
| ⌘I | Italic | _hello_ |
| ⌘` | Code | `hello` |
| ⌘K | Link | [hello](url) |
| ⇧⌘` | Code Block | the line fenced by ``` above and below, still selected |
| ⌥⌘1…⌥⌘6 | Heading 1 to 6 | # hello … ###### hello |
| ⇧⌘8 | Bullet List | - hello |
| ⇧⌘7 | Numbered List | 1. hello |
| ⇧⌘" | Quote | > hello |
Three behaviours worth knowing:
- Italic uses an underscore, not an asterisk.
_hello_and*hello*render identically, and the underscore reads better next to bold's asterisks. - ⌘K selects the word
urlfor you. Press ⌘K on a selection, then paste. You do not have to aim for the parentheses. - Bullet and quote skip lines that already have the prefix. Run ⇧⌘8 twice on the same paragraph and you get one dash per line, not two. Numbered list renumbers from 1 every time you press it.
- Heading levels replace each other. ⌥⌘2 on a line that is already
# Titlegives## Title, not## # Title. The line-oriented commands apply to every line the selection touches, so you can turn eight lines into a bullet list in one press.
With no selection, the inline ones insert an empty pair and put the caret in the middle: ⌘B on an empty line gives **** with the cursor between the second and third asterisk, ready to type. They wrap rather than toggle, so ⌘Z is how you take the markers back off.
If you want the syntax itself explained rather than typed for you, the Markdown cheat sheet covers every construct on one page.
Files, tabs and windows
The one that surprises people: ⌘O and ⌘T are not the same door.
- ⌘O opens each picked file in its own window.
- ⌘T opens a picked file as a tab in the window you are already in.
- ⌘N makes a new untitled document, as a tab when a window is open.
- ⇧⌘T reopens the tab you just closed, same as a browser.
- ⌘W closes the tab. ⇧⌘W closes the whole window, and it prompts once for every unsaved untitled draft in it, not just the front one.
- ⌘S saves, ⇧⌘S is Save As, ⌃⌘I opens Get Info for the current file.
Moving between tabs has one canonical pair and three aliases, because muscle memory differs per person:
- ⌥⌘→ and ⌥⌘← are what the Tabs menu shows.
- ⇧⌘] and ⇧⌘[ do the same thing, Safari style.
- ⌃Tab and ⌃⇧Tab also work, and deliberately do not appear in the menu so it is not four duplicate rows per direction.
- ⌃⌘M is Merge All Windows: every open window collapses into tabs of one.
More on how tabs behave, including what the dot on a tab means, in Working across many files with tabs.
Find, and the size of the text
⌘F puts the caret in the find field, ⌘G is next match and ⇧⌘G is previous. Which text gets searched follows the pane you are in: the editor searches the Markdown source, so a hit can land inside **bold** markers, while preview searches the rendered text where those markers no longer exist. The search also ignores accents, so cafe finds Café. That is its own post.
Zoom is ⌘= in, ⌘- out, ⌘0 back to actual size. Each step is 1.25×, and it stops at 0.5× and 4×. It scales the editor and the preview together, and it is per document, so a new tab starts at whatever default zoom you set in Settings rather than inheriting the last one you fiddled with.
Getting the document out
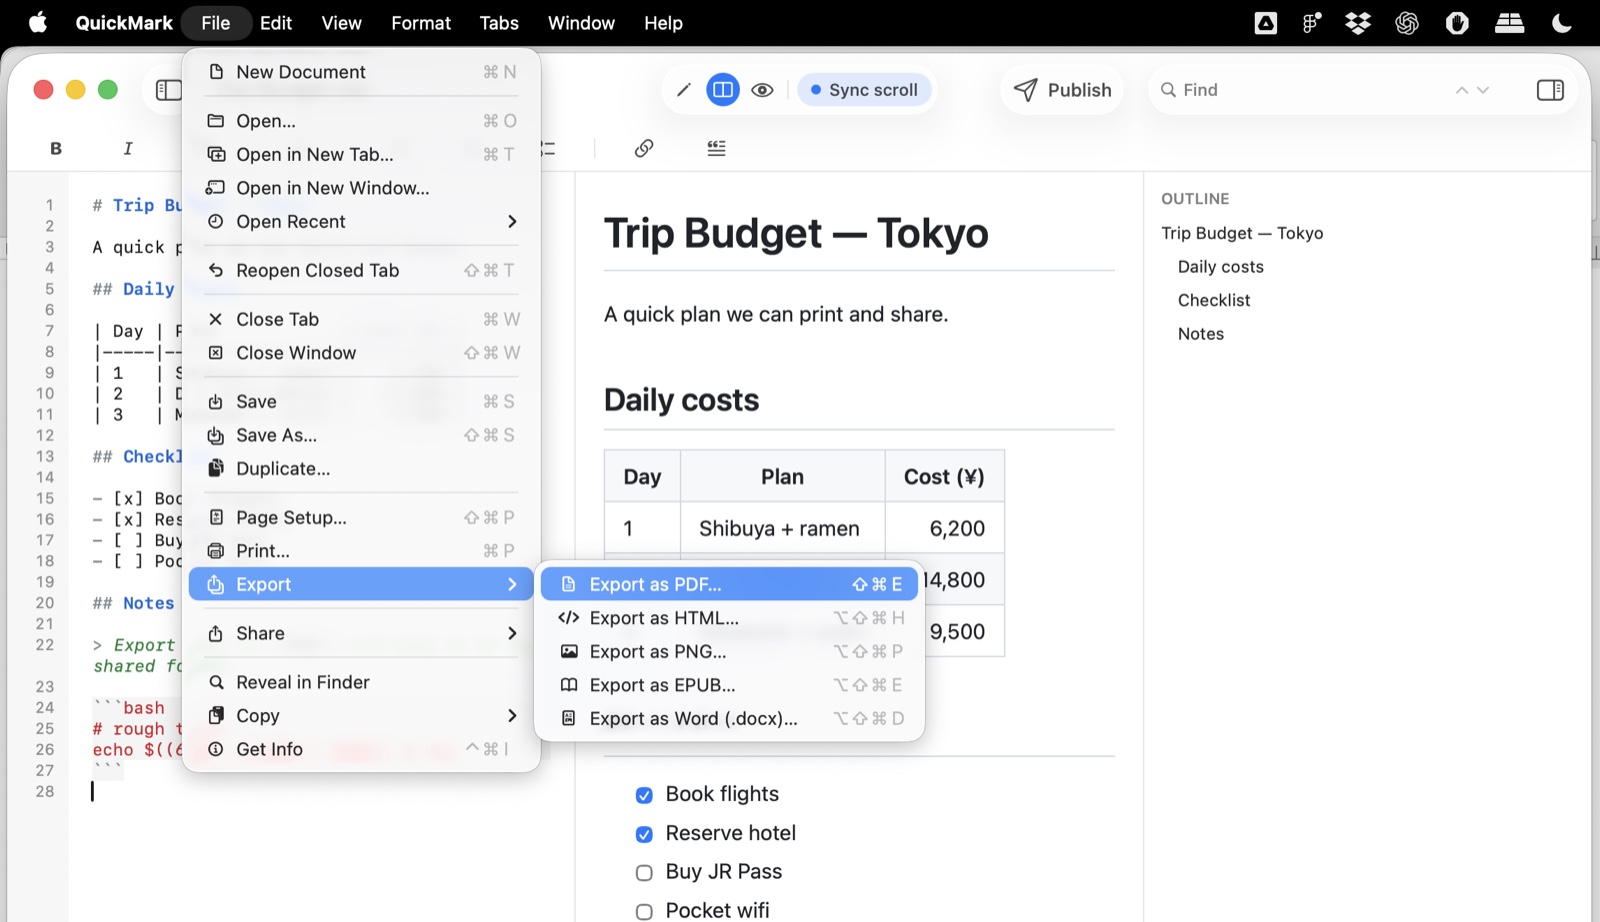
Export lives under File ▸ Export, and four of the six formats have direct keys:
| Keys | Command |
|---|---|
| ⌘P | |
| ⇧⌘P | Page Setup |
| ⇧⌘E | Export as PDF |
| ⌥⇧⌘H | Export as HTML |
| ⌥⇧⌘P | Export as PNG |
| ⌥⇧⌘E | Export as EPUB |
| ⌥⇧⌘D | Export as Word (.docx) |
| ⌥⌘C | Copy the Markdown source |
| ⌥⇧⌘C | Copy as rich text, ready to paste into Mail or Pages |
The two Copy commands are the ones people miss. ⌥⇧⌘C puts the rendered document on the clipboard with its headings, bold and tables intact, which is usually what you want when someone asks you to "just paste it in an email". Converting to PDF covers what the page geometry ends up looking like.
Panes and the launcher
- ⌥⌘O shows or hides the document outline, the list of your headings on the right.
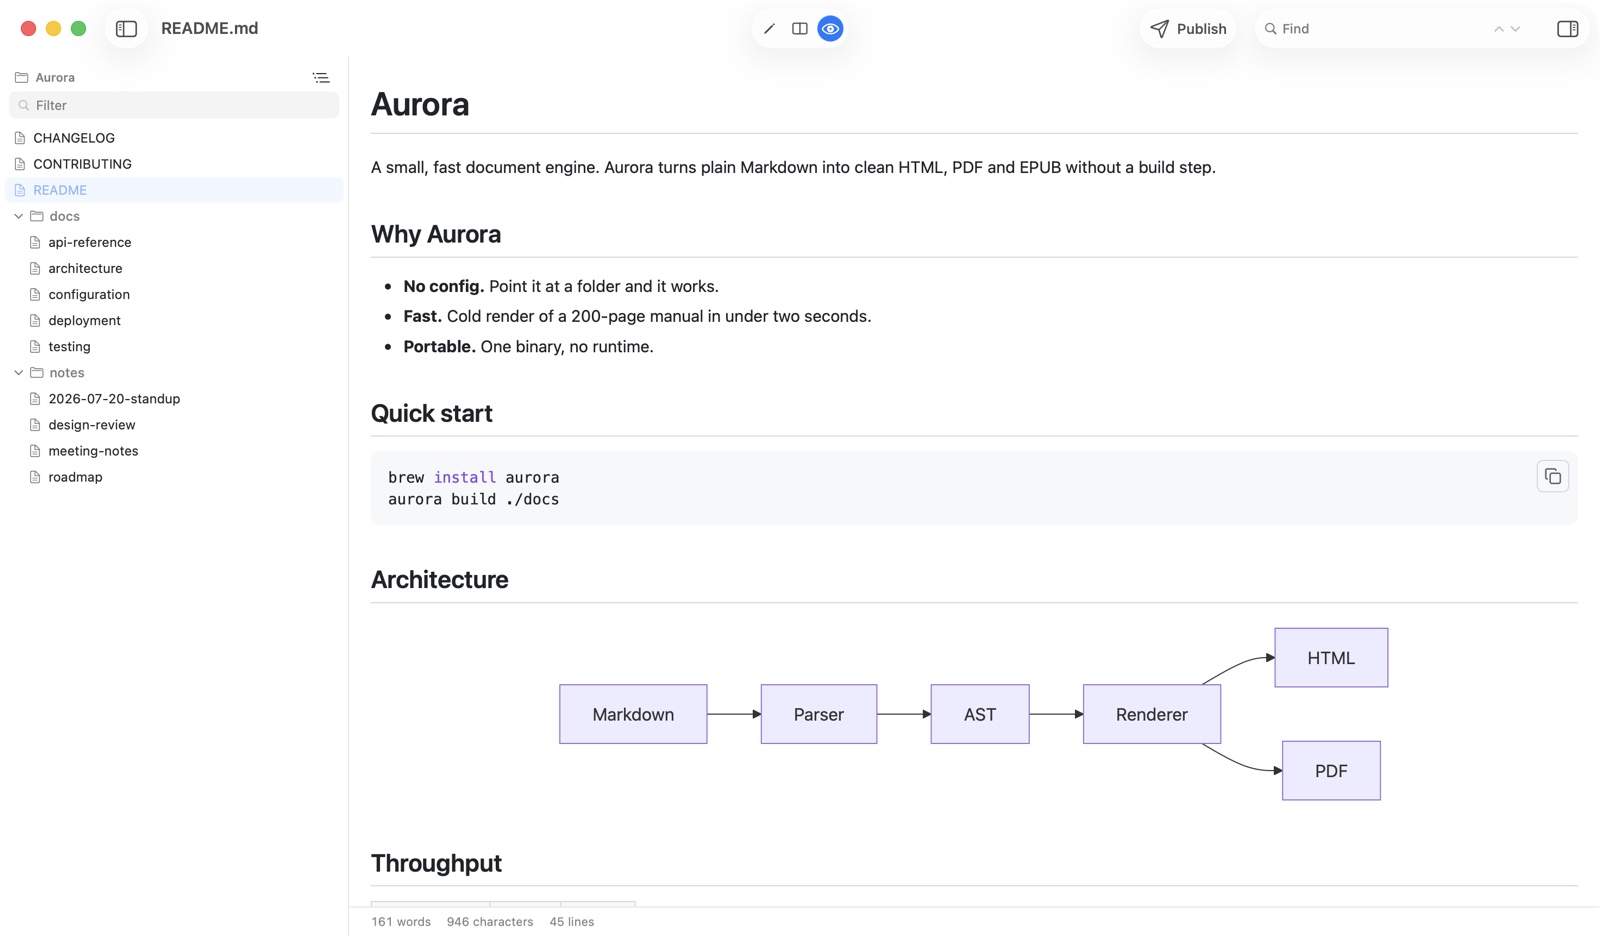
- ⌥⌘F shows or hides Folder Files, the list of every Markdown file sitting next to the one you have open. It is greyed out for a document that has never been saved, because there is no folder to browse yet.
- ⇧⌘0 brings back the launcher window with Recent and New, even when every window is already full of documents.
- ⌘, is Settings, ⌘/ is the shortcut list, ⌘H hides the app, ⌘Q quits.
Two honest limits
Nothing here works on iPhone or iPad. QuickMark defines zero custom key commands on iOS, so pairing a Magic Keyboard to an iPad gets you the system text editing keys that every app inherits, ⌘C, ⌘V, ⌘Z, and nothing QuickMark specific. Formatting on iPad goes through the toolbar above the keyboard instead. This post is Mac only on purpose.
The shortcuts are not remappable inside the app. There is no key editor in Settings. What you can do is the macOS route: System Settings ▸ Keyboard ▸ Keyboard Shortcuts ▸ App Shortcuts, add QuickMark, and type the menu item's title exactly as it appears in the menu bar. That is Apple's mechanism, not ours, and it works for any menu item on this page.
The whole list
Print this bit, or just press ⌘/ in the app.
| Group | Keys | What it does |
|---|---|---|
| File | ⌘N | New document |
| File | ⌘O | Open, each file in its own window |
| File | ⌘T | Open in a new tab of this window |
| File | ⇧⌘T | Reopen closed tab |
| File | ⌘S / ⇧⌘S | Save / Save As |
| File | ⌘W / ⇧⌘W | Close tab / close window |
| File | ⌃⌘I | Get Info |
| View | ⌃1 / ⌃2 / ⌃3 | Editor / split / preview |
| View | ⌥⌘O | Show or hide the outline |
| View | ⌥⌘F | Show or hide Folder Files |
| View | ⇧⌘0 | Show the launcher |
| Zoom | ⌘= / ⌘- / ⌘0 | In / out / actual size |
| Find | ⌘F / ⌘G / ⇧⌘G | Find / next / previous |
| Format | ⌘B / ⌘I / ⌘` / ⌘K | Bold / italic / code / link |
| Format | ⇧⌘` | Code block |
| Format | ⌥⌘1…⌥⌘6 | Heading 1 to 6 |
| Format | ⇧⌘8 / ⇧⌘7 / ⇧⌘" | Bullet list / numbered list / quote |
| ⌘P / ⇧⌘P | Print / page setup | |
| Export | ⇧⌘E | |
| Export | ⌥⇧⌘H / ⌥⇧⌘P / ⌥⇧⌘E / ⌥⇧⌘D | HTML / PNG / EPUB / Word |
| Copy | ⌥⌘C / ⌥⇧⌘C | Markdown source / rich text |
| Tabs | ⌥⌘→ / ⌥⌘← | Next / previous tab |
| Tabs | ⇧⌘] / ⇧⌘[ / ⌃Tab / ⌃⇧Tab | The same, other muscle memory |
| Tabs | ⌘1…⌘8, ⌘9 | Jump to tab N, ⌘9 is the last one |
| Tabs | ⌃⌘M | Merge all windows |
| App | ⌘, / ⌘/ / ⌘H / ⌘Q | Settings / shortcut list / hide / quit |
Get rendered Markdown previews everywhere
QuickMark is a free, native Markdown app for Mac, iPhone & iPad, with live preview, export, and publish built in.
Download on the App Store or try the live preview in your browser →