Headings in Markdown: H1 to H6 Done Right
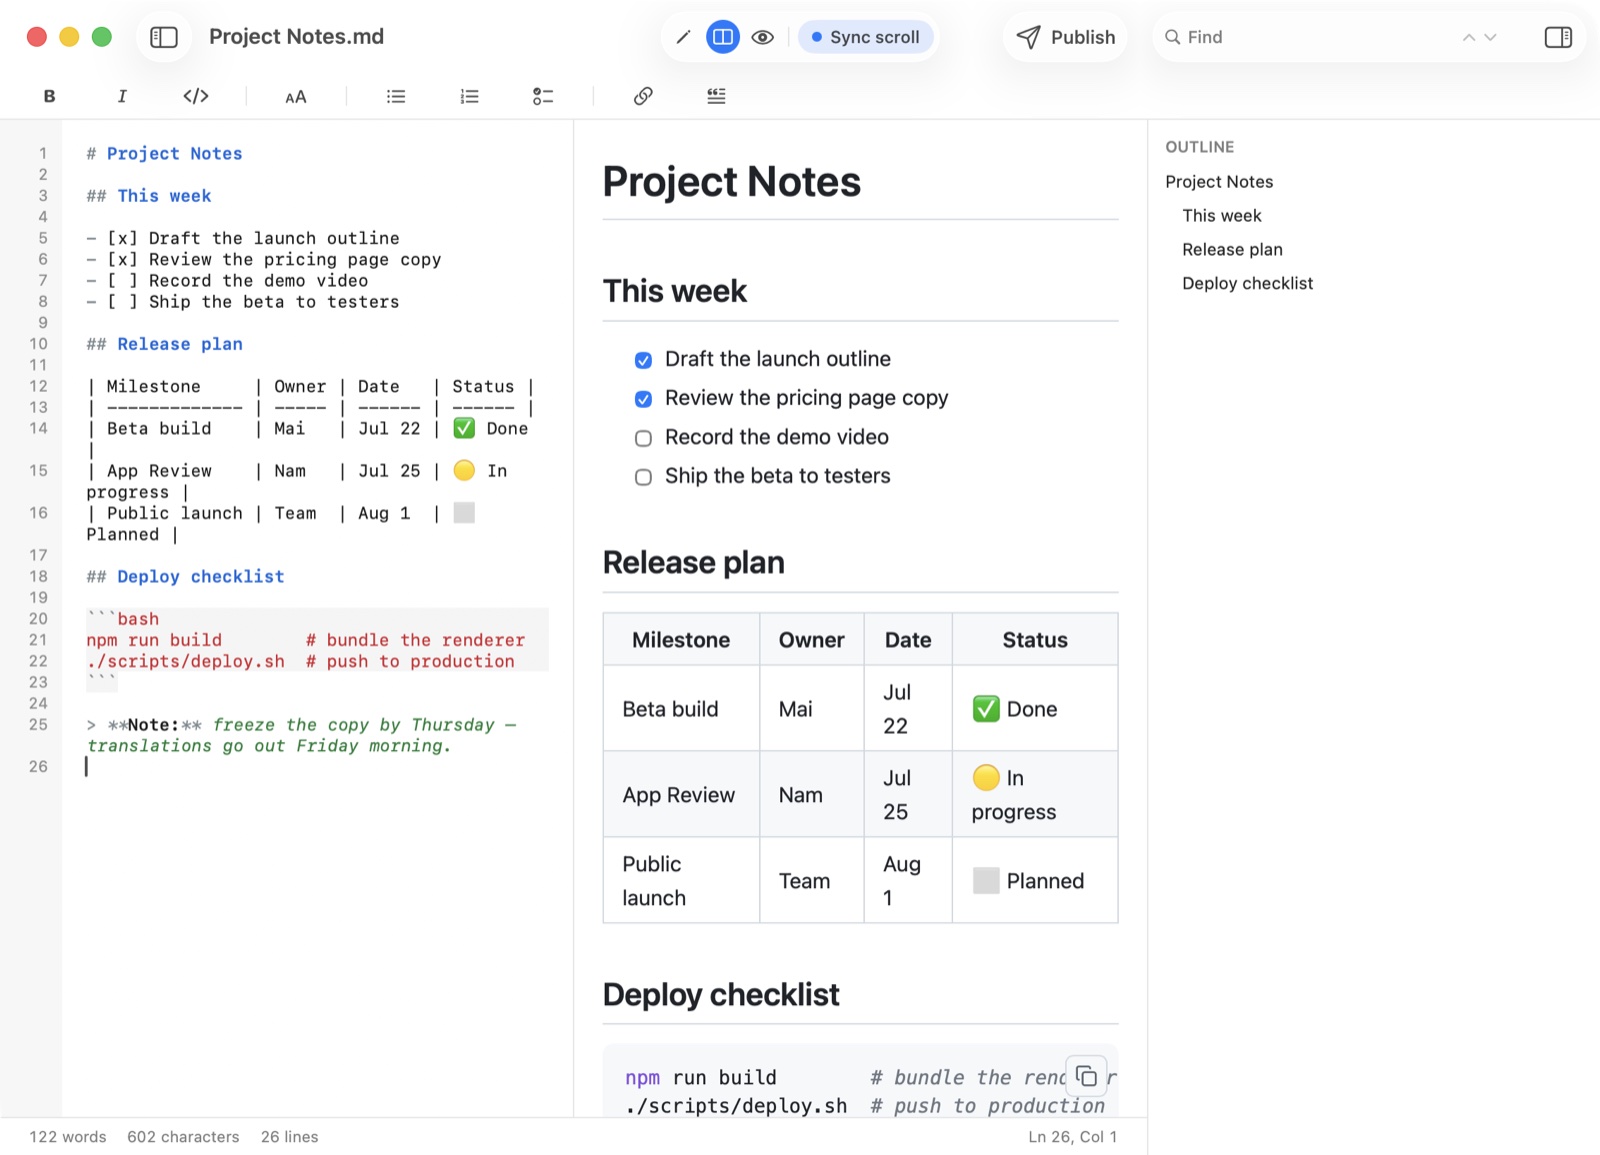
A heading in Markdown is a line that starts with one to six # characters, a space, then the text: # Title is the biggest, ###### Title the smallest. That is the entire syntax. The space is not decoration, and the rest of this post is about what the six levels actually do for you once the file is more than a screen long: the navigation pane, the in-document table of contents, the link targets, and the Word outline.
The six levels
# Handbook
## Getting started
### On Mac
#### Older versions
##### Edge cases
###### FootnoteSix is the ceiling. A seventh # stops being a heading: ####### Seven renders as an ordinary paragraph with the hashes visible, which is the behaviour every Markdown renderer agrees on.
The space is the whole rule
Nearly every "why is my heading not working" case is one of these four. I ran each line through QuickMark's own renderer while writing this post rather than quoting a spec:
| You write | You get |
|---|---|
# Title | An H1. The space is mandatory. |
#Title | A paragraph reading #Title. No space, no heading. |
### Title | An H3. Up to three leading spaces are allowed. |
# Title | A code block. Four spaces means indented code, not a heading. |
Trailing hashes are tolerated and thrown away: ## Closing hashes ### gives you an H2 reading "Closing hashes". Some people like the symmetry, and nothing breaks if you use it.
The other heading syntax, and where it falls short
Markdown has a second, older way to write the top two levels: underline the text with equals signs for an H1, hyphens for an H2.
Handbook
========

Getting started
---------------It renders correctly, and it exports correctly. But it only reaches two levels, and in QuickMark it has one real cost: the Mac outline pane reads #-style headings only, so a document written this way shows an empty outline. I checked this against the parser rather than guessing, and it is a deliberate simplification rather than a plan. If you are choosing today, choose hashes. They scale to six levels, they are easier to skim in the source, and every tool treats them the same.
What headings actually buy you
In a short file the levels are just type sizes. Past a screen or two they become navigation, and the four things below all come from the same headings, with no extra markup.
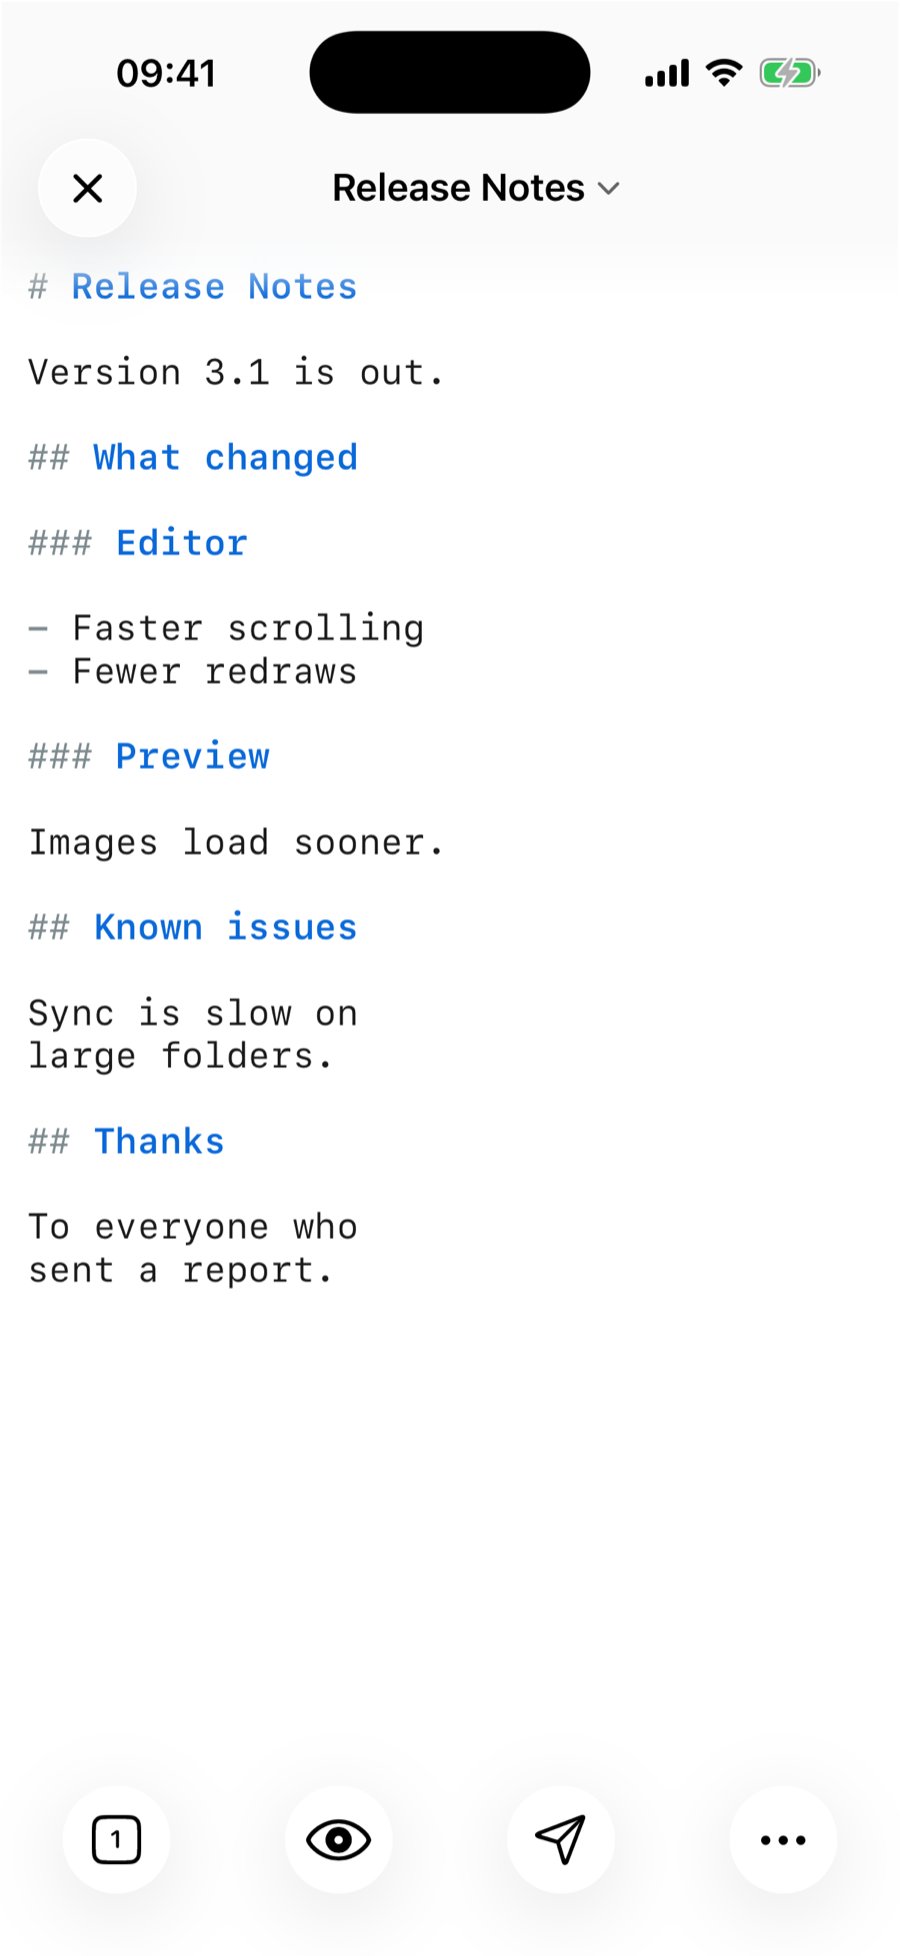
1. The outline pane on Mac. ⌥⌘O, or View ▸ Show Document Outline, opens a list of every heading in the document, indented by level. Clicking a row scrolls the preview to it. Sections with children get a disclosure triangle, and right-clicking gives you Expand All and Collapse All. It is a Mac-only feature: the iPhone and iPad apps do not have an outline pane, and the nearest equivalent there is the Headings count in ⋯ ▸ Get Info. There is a matching setting under Settings ▸ Appearance if you want the pane open on every document by default.
2. A table of contents inside the document. Put [TOC] alone on a line, and it becomes a nested, clickable list of the document's headings. The GitLab spelling [[_TOC_]] works too, and neither is case-sensitive. One thing to know: the list covers H2 through H6 and deliberately skips H1, because H1 is normally the document's own title and listing it in its own table of contents is noise. This one is not Mac-only. It is part of the renderer, so it works on iPhone and iPad, in Quick Look, and on a page you publish to the web.
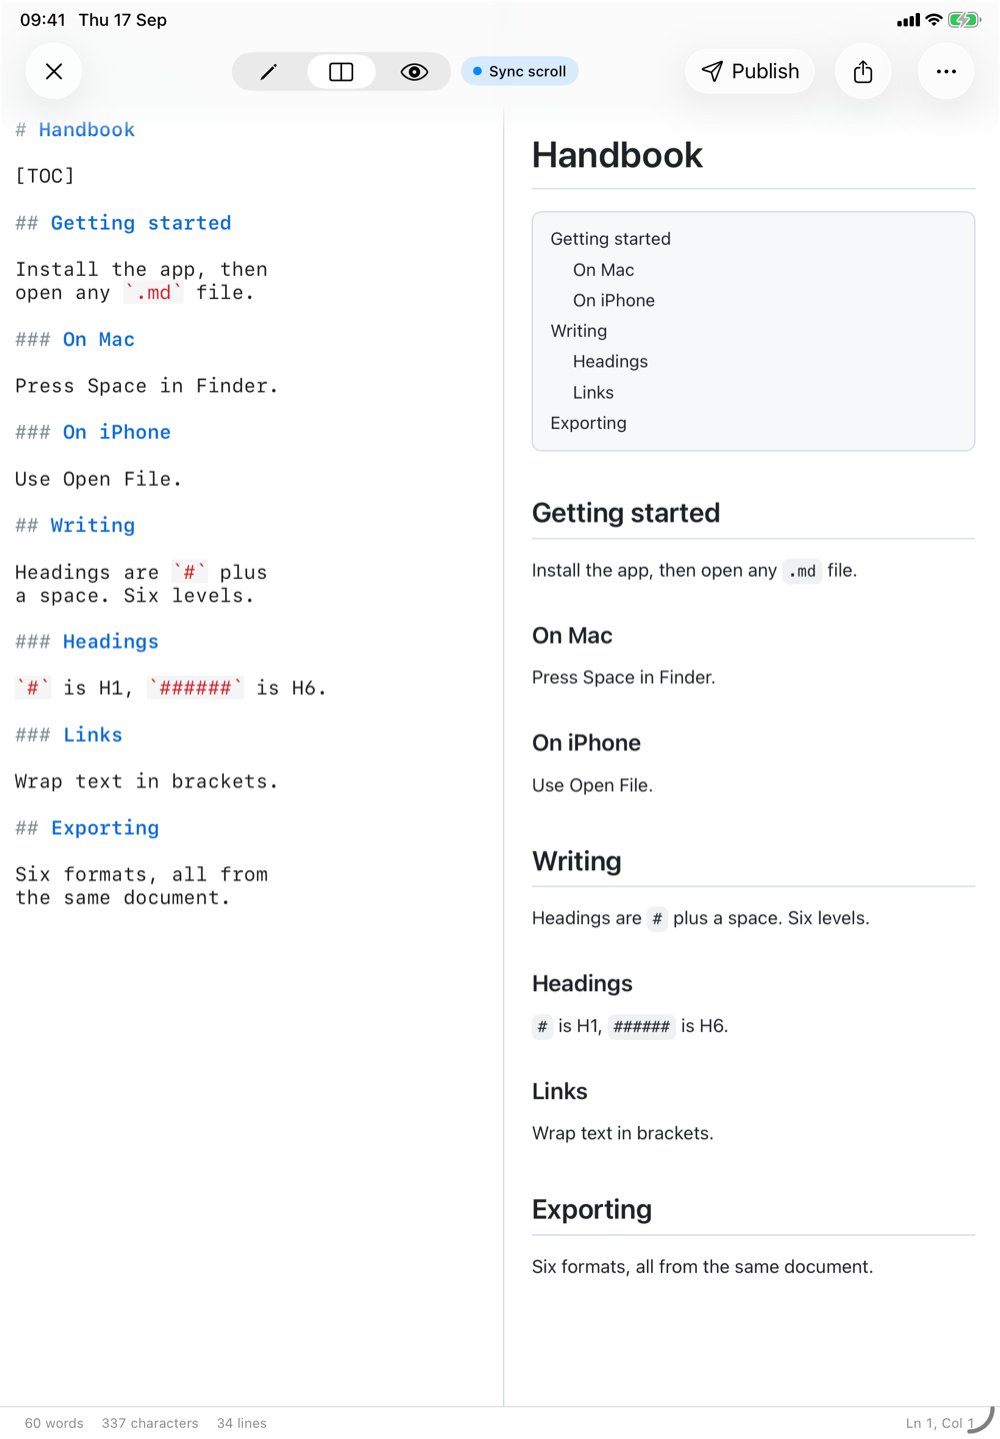
[TOC] line on the left becomes the boxed list of links on the right. H1 "Handbook" is the page title, so it is not in the list. Captured on an iPad (A16) simulator.3. An "On this page" rail when you publish. Publishing a document to the web adds a floating outline to the right of the page, built from the headings, with the current section highlighted as you scroll. It needs at least three headings to appear, and it lists H2, H3 and H4. Very short pages get no rail, which is the right call: a rail with two entries is furniture.
4. A real outline in Word. Exporting to Word maps H1 to H6 onto Word's own Heading 1 to 6 styles rather than to bold text, so Word's navigation pane works and an automatic table of contents inserted in Word finds your sections. Links to headings inside the document survive as internal Word links.
The id under every heading
Every rendered heading gets an id derived from its text, and that id is what [TOC] entries, the published rail and in-document links such as [see setup](#getting-started) point at. The rule is short: lowercase the text, delete everything that is not a letter a to z, a digit or a space, then turn runs of spaces into single hyphens.
Two consequences worth knowing before you write a link by hand:
- Repeated headings get a numeric suffix. Three sections all called "Setup" become
#setup,#setup-1and#setup-2, in document order. - Non-Latin letters are dropped from the id, not transliterated. A heading reading "Cài đặt" gets the id
ci-t, and a heading written entirely in Chinese, Japanese or Korean ends up with an empty id, which means an in-page link cannot reach it. The heading itself renders perfectly and reads perfectly in the outline pane. It is only the link target that suffers. If you write in a language like this and need in-page links, add an ASCII word to those headings, or link to a nearby section instead.
Punctuation disappears the same way. ## C++ & Go: a *guide* becomes #c-go-a-guide, and an emoji at the front of a heading is removed from the id but kept in the text.
Typing them faster
On Mac, ⌥⌘1 through ⌥⌘6 turn the current line into that heading level, and with a selection they apply to every selected line at once. An existing heading prefix is replaced rather than stacked, so pressing ⌥⌘3 on an H1 gives you an H3, not ####. The full map is in every keyboard shortcut in QuickMark for Mac.
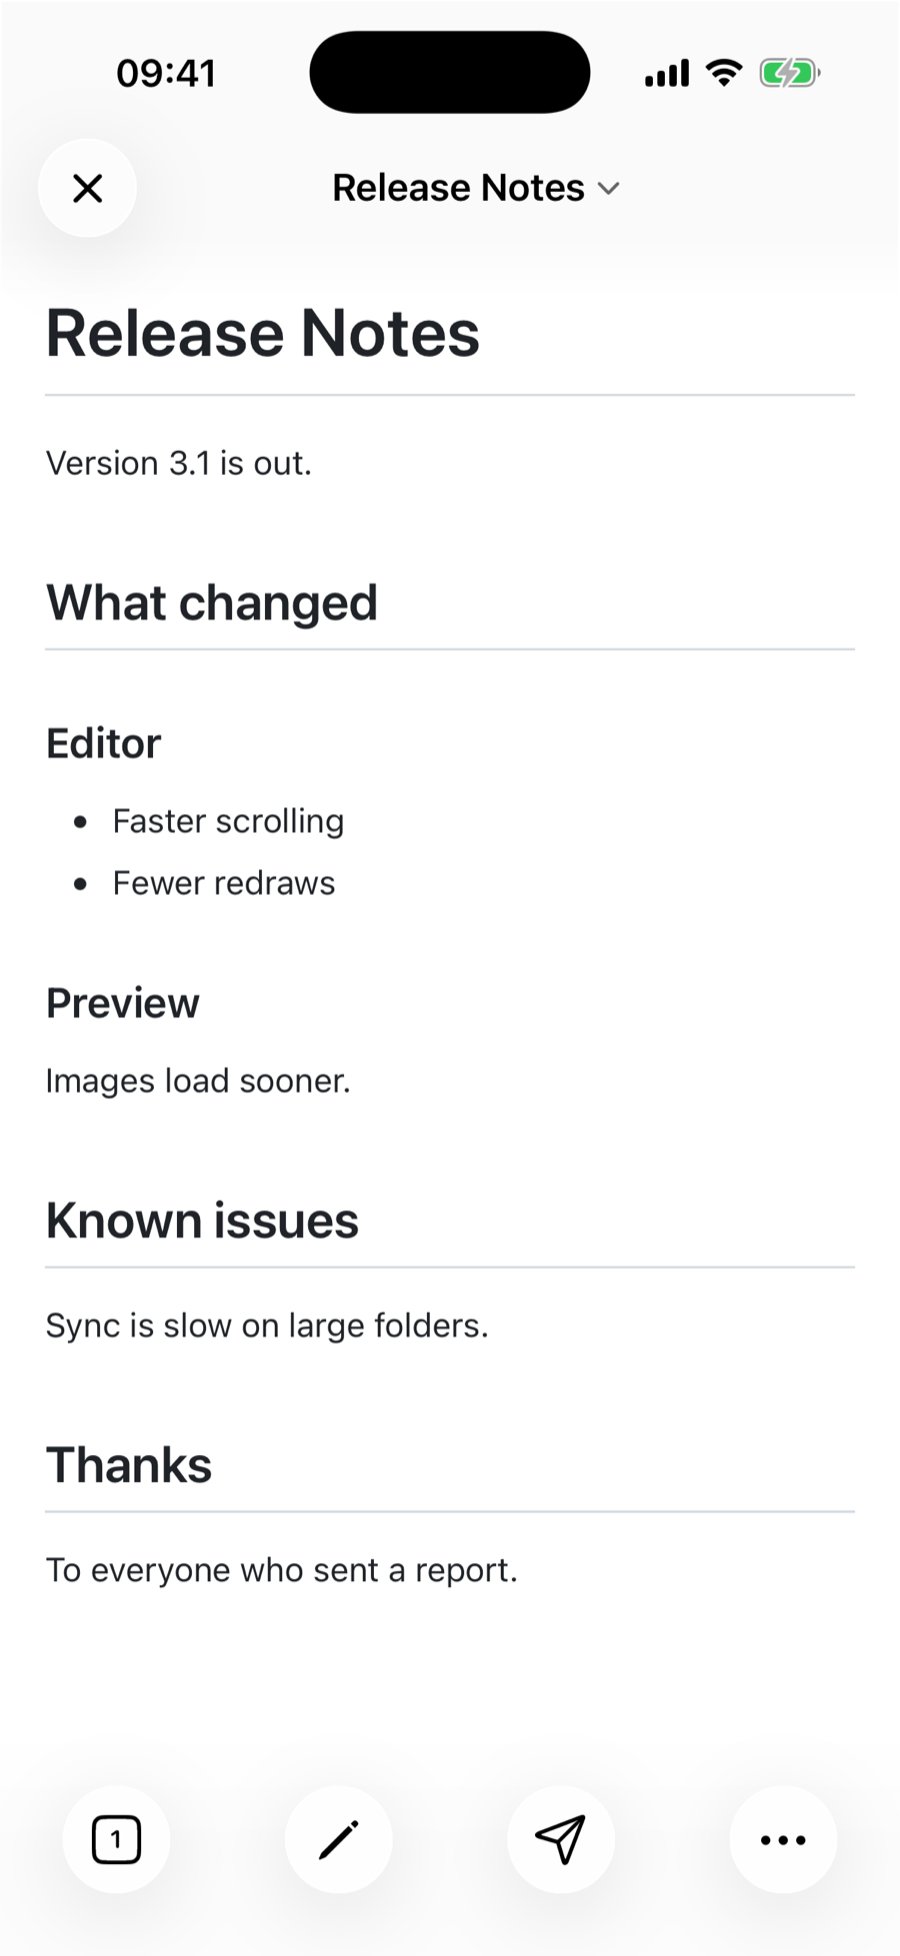
On iPhone and iPad the keyboard bar has a single heading key, marked with the letter-size symbol, and it cycles: plain text becomes H1, H1 becomes H2, H2 becomes H3, and H3 goes back to plain text. That covers the three levels most documents use. Deeper levels mean typing the hashes, and there are no hardware-keyboard shortcuts for headings on iPad yet.
How many H1s should a document have?
One, at the top, as the title, then H2 for the main sections and H3 beneath those. Nothing enforces this. Markdown will happily render four H1s in a row. But the outline pane, the table of contents and the Word export all read the levels as a tree, so a document that jumps from H1 straight to H4 produces a lopsided outline, and one that uses H1 for every section produces a flat list with no shape.
The practical test: open the outline pane, or drop a [TOC] at the top for a moment. If the indentation matches the way you would describe the document out loud, the levels are right. If it looks flat or randomly stepped, that is the document telling you something before a reader has to.
More syntax in the same series: the Markdown cheat sheet, links and images, and checklists.
Get rendered Markdown previews everywhere
QuickMark is a free, native Markdown app for Mac, iPhone & iPad, with live preview, export, and publish built in.
Download on the App Store or try the live preview in your browser →